Ruby Ball
Cabbage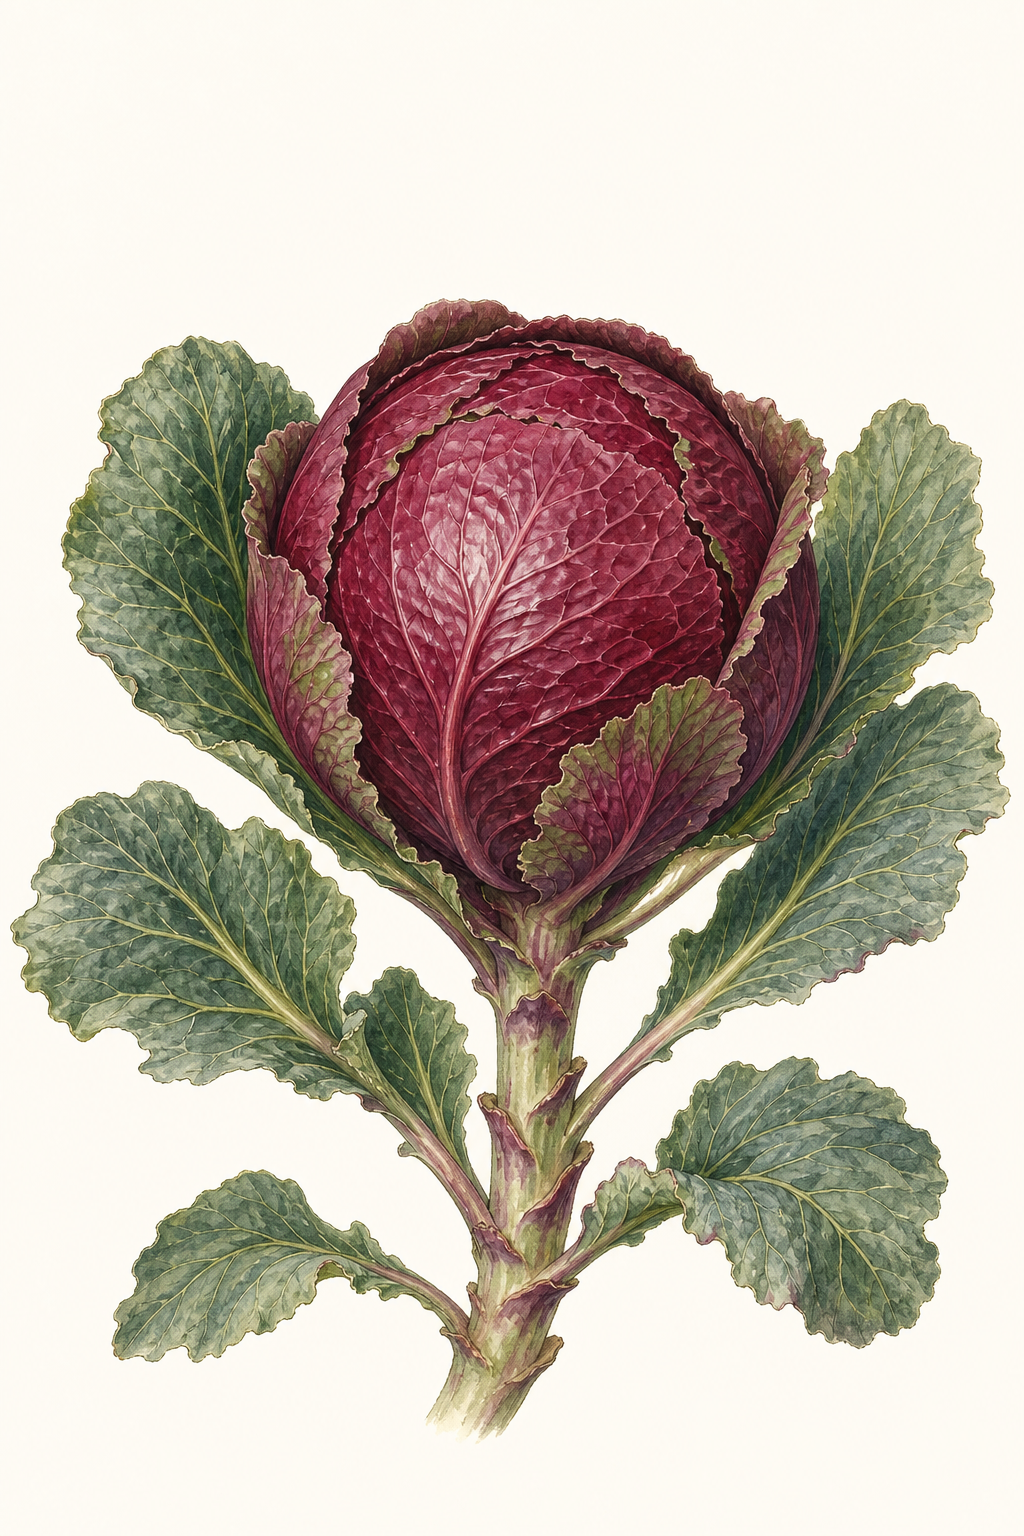
Ruby Ball brings a striking, jewel-toned presence to the garden—compact heads with rich, ruby-tinged outer leaves that deepen as …
Crop Dates
| Milestone | Date |
|---|---|
| Start Indoors | Apr 3rd |
| Last Frost | May 8th |
| Transplant / Sow Outdoors | May 1st |
| Harvest Begins | Jul 10th |
| Harvest Ends | Sep 30th |
Crop Details
| Trait | Value |
|---|---|
| Days to Maturity | 70 |
| Sun Requirements | Full Sun |
| Growth Habit | Rosette |
| Support Needed | None |
| Planting Depth | Normal |
| Germination Temp (°F) | 40 |
| Min Soil Temp (°F) | 40 |
| Min Night Temp (°F) | 35 |
| Harden Off (days) | 6 |
Recommended Companions
Frequently Asked Questions
What pest or disease is most likely to hit Brassica oleracea var. capitata (Ruby Ball cabbage), and how do I control it?
How often should I water Ruby Ball cabbage during the main growing phase?
How can I tell when Ruby Ball cabbage is ready to harvest?
Ruby Ball brings a striking, jewel-toned presence to the garden—compact heads with rich, ruby-tinged outer leaves that deepen as they mature. Inside, the crisp, fine-textured leaves stay tender and sweet, offering a satisfying bite whether you savor them fresh or let them shine in hearty preparations like braises and roasted wedges. A dependable 70-day performer for home gardeners who want both beauty and reliable harvest in every season.
Sowing Tips
Transplant Conditions
Wait until soil reaches 40°F and nights stay above 35°F before moving outdoors. Harden off for 6 days first.
Expert Note
Start seedlings cool and transplant on a cloudy day if possible to reduce stress, then keep soil evenly moist to help form tight heads.